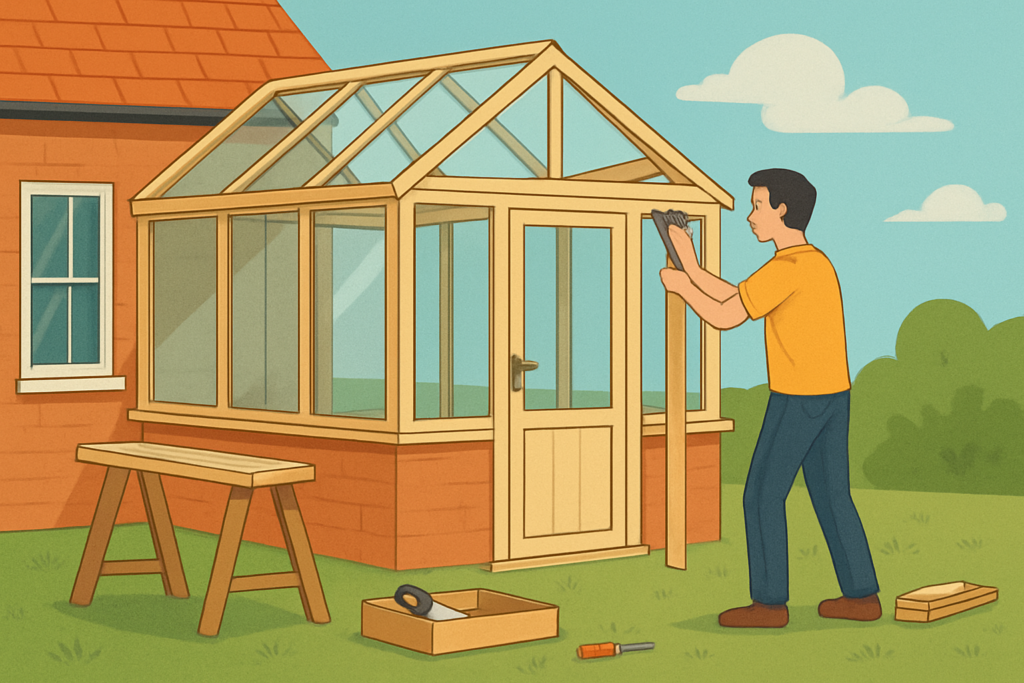
A conservatory can transform how a home feels by adding daylight, views and extra living space. It also adds complexity: roofs have to shed water correctly, frames must align, and glazing needs to perform thermally for years. That’s why people ask Can you build your own conservatory?—and the right answer is: you can build parts of one, but a full DIY build is usually only sensible for experienced tradespeople.
I’ve seen too many “almost right” conservatories where small decisions create big consequences later, from poor drainage to condensation in cold corners. If you’re considering doing it yourself, you’ll want a clear view of what’s straightforward, what’s risky, and what should be handled by professionals.
What “building your own conservatory” actually means
When people say they’ll build their own conservatory, they can mean anything from putting up a prefabricated kit to managing a complete build with structural work, glazing and finishing. In the UK, the scope changes your legal and safety responsibilities as well.
It helps to separate the work into distinct areas:
- Design and specifications: choosing the right frame system, roof type, glazing units, insulation approach and ventilation.
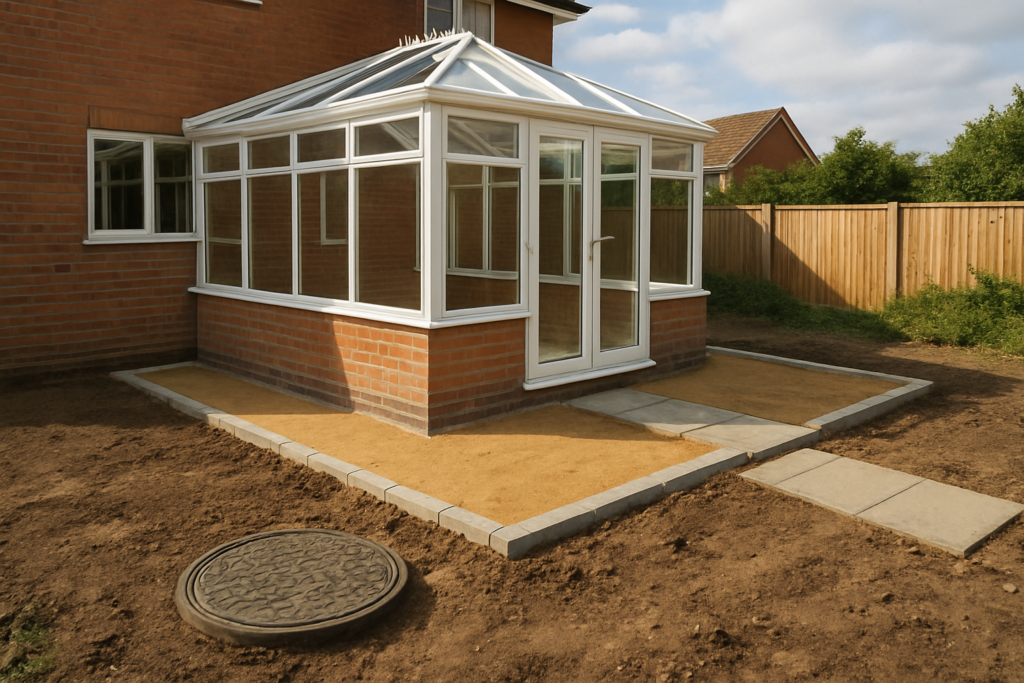
- Site preparation: groundworks, levelling, damp control, drainage and base construction.
- Structure and weatherproofing: frames, roof framing, flashings, trims and seals.
- Glazing installation: alignment, fixing methods, gaskets and safety glass requirements.
- Finishing: internal linings, trims, electrics for lighting and fans, floor and ceiling work.
If you can do each of those areas to a high standard, you may be able to manage a DIY-style project. If you can only do some, you’ll likely get a better result by combining your effort with professional installation for the high-risk parts—especially glazing and roof weatherproofing.
Is DIY conservatory building realistic in the UK?
Reality check: conservatories sit in the “light extension” category, but they still need to be built like a proper building. Your frame must stay square under wind loads, roof junctions have to be watertight, and thermal performance should meet modern expectations.
DIY can be realistic when:
- You’re installing a kit with clear manufacturer instructions and you’re able to follow them exactly.
- You have strong DIY experience with level, plumb and structural fixing.
- Your site conditions are straightforward (good access, sensible ground, no complex drainage).
- You can obtain specialist support for critical stages (base checks, glazing, roof sealing).
It’s usually not realistic when:
- You discover drainage problems or suspect movement in the ground.
- Your design requires structural alterations beyond a simple attachment.
- You’re unsure about foundations depth and damp control requirements.
- You can’t safely handle heavy materials and glazing units.
If you want a starting point for the “base” side of things, foundations are where most DIY projects either succeed quietly or fail expensively. For more detail, see how to build a conservatory base.
Planning permission, regulations and warranties
Before you buy a kit, you need to understand what the build needs. Conservatories can sometimes fall under permitted development, but allowances are not unlimited. Your size, height, position and proximity to boundaries can change the outcome.
At the same time, even when planning permission isn’t required, building regulations often still apply. A conservatory has thermal and weatherproofing responsibilities, plus electrics if you’re adding sockets, lighting or ceiling fans.
Two common DIY mistakes happen here:
- Assuming “no planning permission” means “no rules”—the conservatory still needs to be built safely and correctly.
- Choosing a kit without checking warranty conditions—many manufacturers require installation by approved fitters for the best warranty coverage.
If you want to sanity-check your planning risk, read do you need planning permission for a conservatory? then speak to your local authority if anything seems borderline.
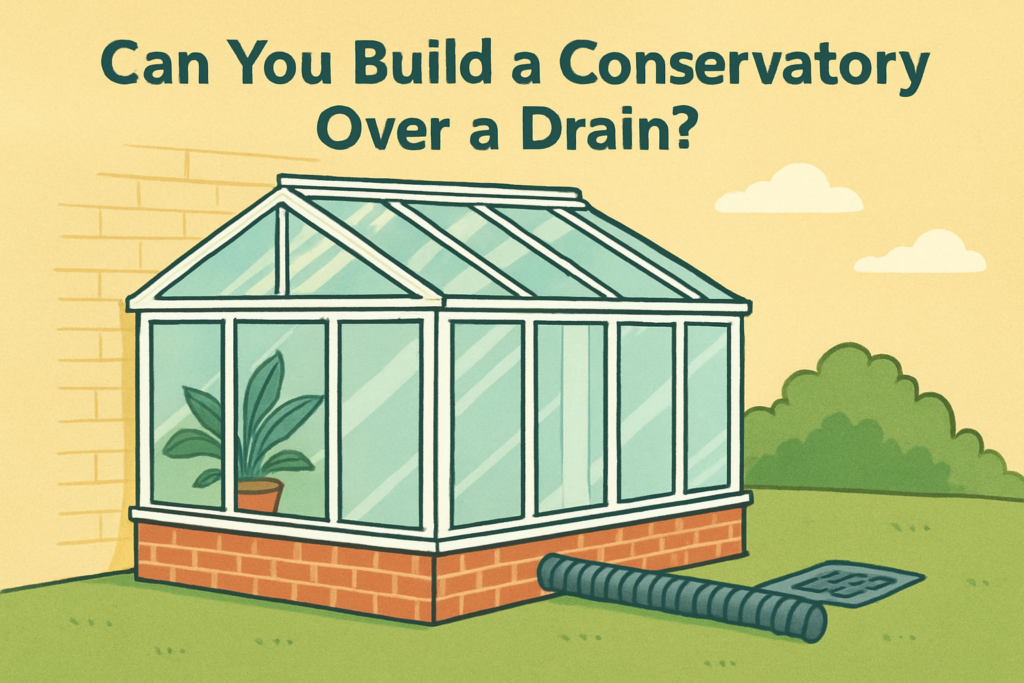
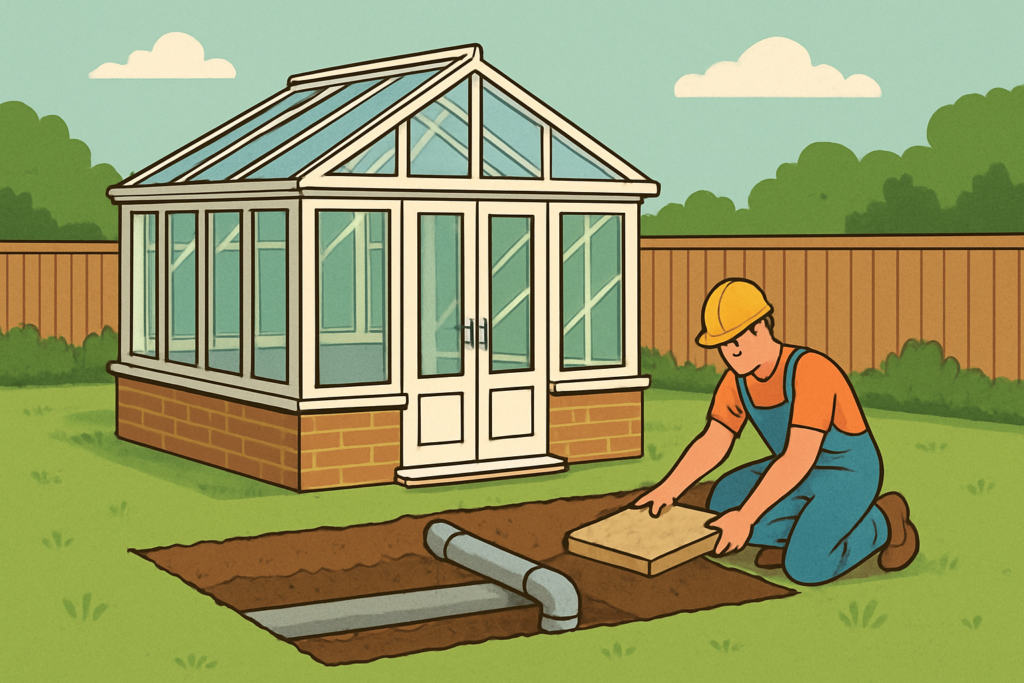
Foundations and drainage: the part DIY can’t afford to get wrong
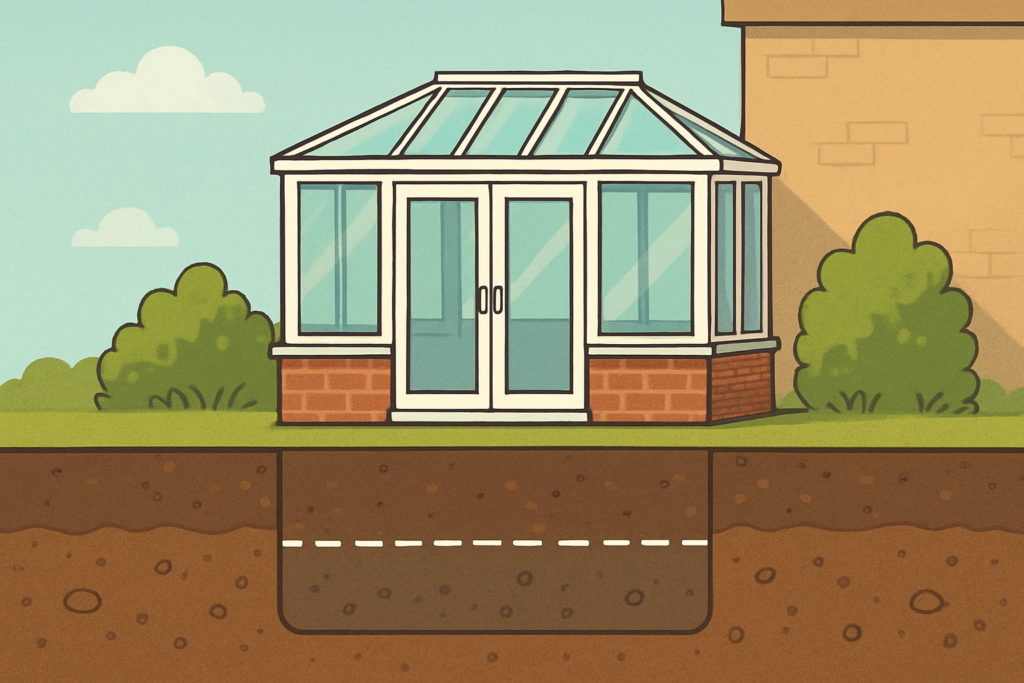
A conservatory looks delicate compared with a brick extension, but the base still has to control movement and moisture. If you’re on expansive clay, have a high water table, or you’re near existing services, the “right” solution may not be obvious.
Foundations depth and type depend on several factors:
- Ground conditions: soil type, drainage characteristics, and evidence of movement.
- Frost risk: the depth needed to prevent freeze-thaw issues.
- Load requirements: especially where walls, roof type or roof weight differ.
- Damp control: preventing moisture wicking into the structure.
- Drainage strategy: surface water routing and avoidance of ponding near the base.
If you’re tempted to “make do”, pause and check resources first. The difference between a conservatory that remains dry and one that develops persistent damp can come down to foundation design and proper detailing, not just good intentions.
For practical guidance on planning the base properly, you can also refer to how to build foundations for a conservatory.
Choosing the right conservatory system for DIY
Not every conservatory kit suits a DIY installer. When you’re shopping, look beyond the headline price and check the details that affect installation quality.
Key choices include:
- Frame material: aluminium frames are typically more straightforward for alignment than some traditional methods, while uPVC systems depend on correct fixing and reinforcement.
- Roof type: polycarbonate roofs are often lighter but can still require careful detailing; solid roofs demand correct insulation and weatherproofing.
- Glazing: double or triple glazing choices affect weight, condensation control and fixing methods.
- Thermal approach: insulated pelmets, roof insulation and correct air gaps are what stop the conservatory feeling cold or clammy.
- Ventilation: trickle vents, roof vents and airflow pathways help manage humidity.
As a general rule, DIY is more successful when the system comes with clear instructions, compatible components, and robust fixing guidance. If the kit relies heavily on site-made sections or ambiguous sealing methods, consider whether you’ll have the right tools and experience to deliver a consistent finish.
Site access, measuring and alignment: where many projects drift
Even with the best kit, measuring and alignment are critical. Conservatories are unforgiving: a small error in base level or frame squareness can show up as uneven trims, stressed joints and poor roof drainage.
What to plan for before you begin:
- Access for materials: can you bring in frame sections, roof panels and glazing safely without damaging your driveway, walls or landscaping?
- Work sequencing: you need a sensible order so you can roof-in and weatherproof on time.
- Clear reference points: mark datum lines for heights and angles before assembling.
- Level and plumb checks: measure repeatedly, not just at the start.
A conservatory should look straight from outside and stay watertight around every junction. That’s why aligning the structure matters as much as the visible finish.
Roofing and weatherproofing: the DIY risk zone
Roofs take the brunt of rain, wind-driven moisture and temperature movement. Weatherproofing details—flashings, gutters, ridge lines, and junction sealing—are where DIY attempts often go wrong.
One reason is that conservatory roof systems behave differently from pitched roofs. Materials expand and contract, and junctions concentrate water. If seals are misapplied or trims don’t sit correctly, you may not notice a problem until you see stains, damp ceiling corners or water ingress after heavy rain.
Practical ways to reduce risk:
- Use only approved sealants and fixings specified by the conservatory manufacturer.
- Follow the installation sequence so joints are sealed as intended.
- Check drainage paths before final trims are fitted—water should travel where the system expects.
- Ensure roof falls are correct for the roof design.
If you want a broader build overview (including construction principles), read how to build a conservatory to see how professionals structure the workflow.
Glazing installation and safety
Glazing is both heavy and delicate. Incorrect handling can lead to cracks, and poor fixing can compromise water seals or the unit’s structural performance. It’s also a safety issue: glass falls can cause serious injuries.
DIY-glazing can work when you’re confident with:
- Handling and storing units safely until the frame is ready.
- Gasket placement and correct pressure points.
- Fixing method accuracy (the manufacturer will specify where and how fixings go).
- Alignment checks before final securing.
If your kit includes large roof panels, you may need lifting equipment or specialist help. Even capable DIYers underestimate the coordination needed when two or three people have to work simultaneously while keeping components square.
Insulation, ventilation and condensation control
A common complaint about older DIY conservatories is that they’re cold in winter and humid in summer. The cause is often not the frame alone, but the build details that manage heat and moisture.
To avoid condensation issues, focus on:
- Roof and wall insulation strategy: insulated roof linings, correct insulation thickness and continuity.
- Air gaps and sealing: stopping unintended air leakage around junctions.
- Ventilation: adequate airflow to balance internal humidity with external conditions.
- Floor type: subfloor moisture control and a sensible floor finish that doesn’t trap damp.
If you choose a solid roof, it’s still essential to plan ventilation. If you choose a lighter roof approach, you may need stronger humidity management through heating and airflow.
Electrics, plumbing and finishing details
DIY electrics in a conservatory can be a minefield if you’re not experienced. If you’re adding lighting, sockets or heating, you must consider safe zones, appropriate protection and compliance with relevant electrical requirements.
Finishing details also matter. A conservatory can look complete and still be uncomfortable if you skip internal linings, leave gaps around trims or don’t treat the floor junction properly.
What tends to make a big difference to how the space feels day-to-day:
- Internal ceiling completion: helps maintain thermal continuity and prevents draughts.
- Skirting and junction finishing: keeps drafts down and improves longevity.
- Floor preparation: moisture control under flooring and a comfortable surface for use in winter.
- Consistent seals: around door thresholds and glazing edges.
If you’re not confident with electrics, consider hiring a qualified electrician even if you do the rest yourself. It’s a sensible way to protect both safety and long-term reliability.
Where to compromise: doing a hybrid build the sensible way
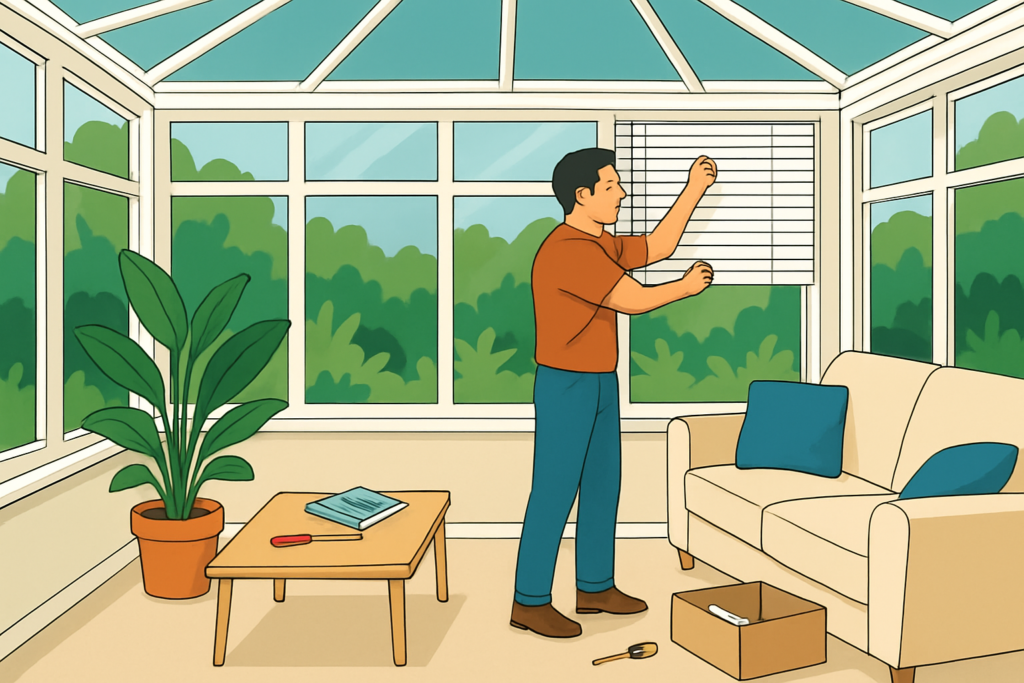
The smartest DIY conservatory projects are often “hybrid builds”. You may do ground prep, painting, internal finishing or landscaping, while professionals handle glazing, roof sealing or any work that involves structural judgement.
Think about splitting responsibilities so you reduce risk where it matters most:
- You handle: site preparation, measuring support, internal finishing and non-critical carpentry.
- Professionals handle: roof assembly, glazing installation and weatherproofing sign-off.
- Specialist input: when drainage or unusual ground conditions appear.
This approach also helps with warranties. If a manufacturer requires professional installation for the warranty to remain fully valid, you can still do a lot of the labour yourself while protecting the expensive parts.
Common DIY mistakes (and how to avoid them)
If you take nothing else from this article, take this: conservatories fail due to details. Here are pitfalls I’d strongly encourage you to avoid.
Mistake: underestimating the base and drainage impact
Even small drainage mistakes can lead to moisture around the base and ongoing damp issues. Plan for correct water run-off and damp control rather than relying on “it’ll be fine”.
Mistake: rushing alignment and assuming trims will hide it
Trims can conceal small imperfections, but they can’t fix structural squareness or incorrect roof falls. Re-check measurements early and often.
Mistake: skipping ventilation and then heating the space like a normal room
Conservatories need humidity control. Without airflow and correct thermal detailing, condensation can appear and lead to mould.
Mistake: using the wrong sealant or fixing method
Conservatory systems are designed around specific components. Substituting sealants, gaskets or fixings can cause leaks later even if everything looks okay initially.
Mistake: forgetting the time pressure of weatherproofing
If you’re mid-install when rain arrives, you can’t always pause safely. The schedule should allow you to roof-in and seal promptly.
How long does a DIY conservatory build usually take?
Timelines vary with experience, site complexity and the amount of specialist work involved. A kit installation may move faster than a fully bespoke build, but roof and glazing stages can still be time-consuming and weather-dependent.
When you plan, allow time for:
- site prep, levelling and base works
- component checks and staged dry-fits
- roofing and weatherproofing completion
- drying time for any seals, render or finishing work
- electrics planning, testing and safe commissioning
If you want a UK-oriented reality check, see how long does it take to build a conservatory? so you can set expectations and avoid overlapping trades at the wrong time.
Benefits and limitations of DIY
DIY can be cost-effective and deeply satisfying when you match the work to your skills. You also control pacing and can prioritise careful finishing.
Benefits commonly include:
- Greater control over the look: you can refine internal finishing, trims and floor selections.
- Better project involvement: you’ll understand what’s been done and why.
- Potential labour savings: especially for non-technical tasks.
Limitations are just as real:
- Higher risk of rework: leaks and condensation often require corrective dismantling.
- Safety and handling concerns: glazing and roof components are unforgiving.
- Planning and compliance complexity: you may need specialist advice or sign-off.
When you weigh these honestly, the best outcome is usually not “DIY everything”, but “DIY what you can confidently do and pay for the critical parts”.
What should you do next?
If you’re seriously considering building your own conservatory, start by turning your idea into a scope you can measure. Write down what you will do yourself, what you will outsource and what information you need to confirm with suppliers.
Your next practical actions could be:
- Check planning and building regulation triggers based on your property and design.
- Get base and drainage advice if your ground is anything other than straightforward.
- Choose a system designed for your DIY capability and verify warranty requirements.
- Plan for safe glazing and roof weatherproofing—don’t improvise on these.
- Build a realistic programme that accounts for weather and specialist availability.
If you’re weighing conservatory options for your area, local timelines and site access can influence decisions. For example, you might find useful cost and planning considerations by browsing an installation overview such as conservatory installation Birmingham before you commit.
Also, if you want a quick sense of construction principles and sequencing, revisit how to construct a conservatory and compare it against your intended DIY scope.
What We Get Asked…
Can a beginner build a conservatory?
Many beginners can complete finishing work, but building a conservatory from base to roof typically needs strong structural competence and careful weatherproofing. If you’re new to conservatory builds, start by planning a hybrid approach.
Do I need foundations for a conservatory?
Often, yes. Even when a conservatory feels “light”, foundations and damp control are key to durability and preventing future movement or leaks.
Is it worth doing a DIY conservatory?
It can be worth it if you have the skill, time and tools to do the critical parts correctly. If you don’t, the risk of rework can quickly erase savings.
How do I avoid leaks at the roof junctions?
Use only manufacturer-approved components and sealants, follow the installation sequence carefully, and ensure drainage paths and roof falls match the system design. Junction mistakes usually show up after weather exposure, so attention to detail now prevents problems later.
Where should I hire professional help?
Most homeowners benefit from professional help with glazing, roof assembly and any base/drainage uncertainty. A qualified electrician is also a sensible choice if you’re adding electrics.
Our Final Thoughts
Yes, you can build your own conservatory, but only when you’re realistic about what “build” includes. Foundations, roof weatherproofing and glazing installation are the areas where DIY errors become expensive and uncomfortable.
If you want the best balance of cost and quality, plan a hybrid build: do the work you can confidently manage, and get specialist help where accuracy and compliance matter most. When you’re ready, review your scope against the base, drainage and construction guidance, then take the next step—either by speaking to approved fitters or by mapping out a full DIY checklist that protects the warranty and the weatherproofing from day one.