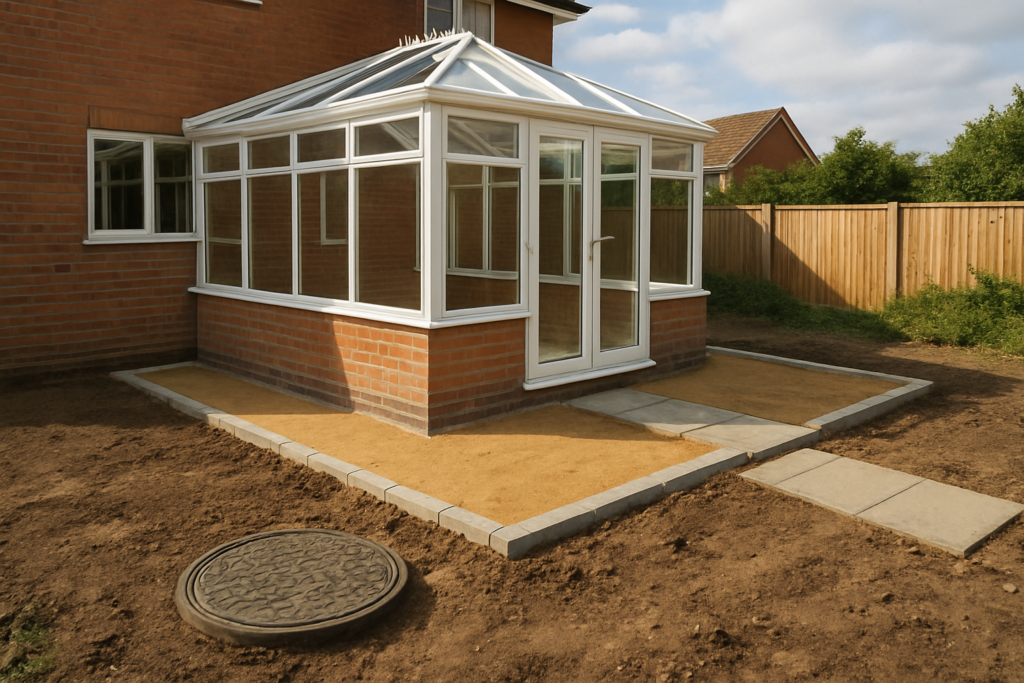
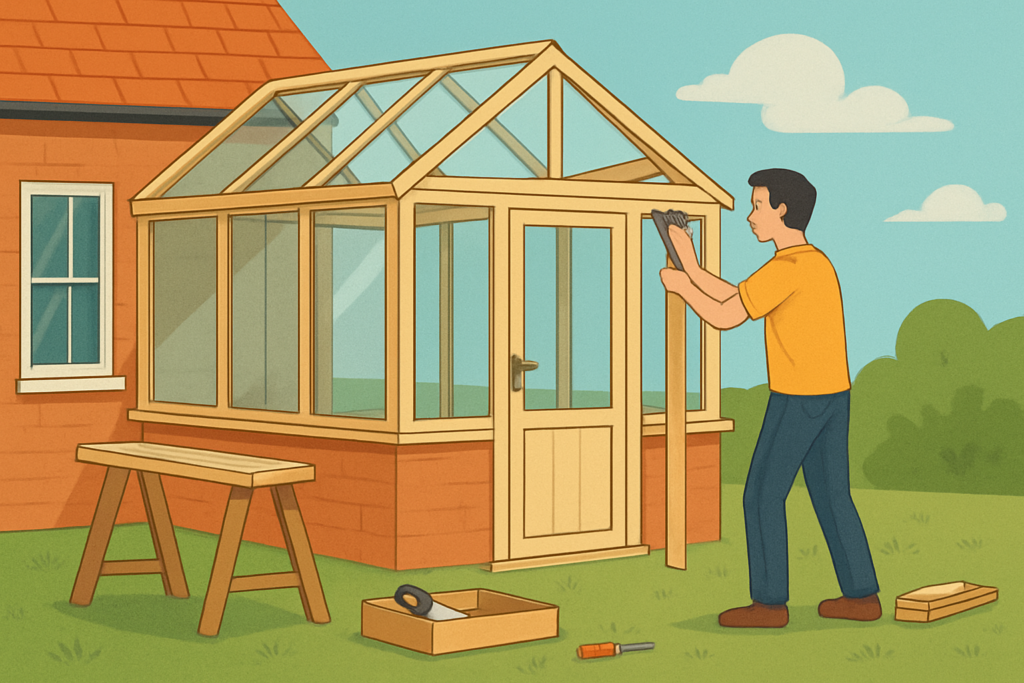
A lean-to built against a conservatory can be one of the smartest ways to gain extra room without the complexity (or bulk) of a full extension. Done well, it adds usable storage space, improves weather protection at the door, and can even help you create a better transition between indoor and outdoor living. Done poorly, it can trap moisture, overload the conservatory wall, or introduce a roof junction that never truly stays watertight.
I’ll be honest about what matters most: the quality of the base, the correctness of the roof-to-wall junction, and whether your site drainage and ground conditions are compatible with a new structure. When I’m advising homeowners, these are the points that most often separate a tidy, long-lasting lean-to from a joinery and flashing headache.
What a lean-to really changes for a conservatory
A lean-to is a roofed addition that sits at a single pitch, typically fixed to the conservatory wall and/or supporting structure. It’s often used as a sheltered link area, a utility zone, a bike and bin shelter, or a protected space for doors and glazing. Because it attaches to an existing conservatory, the build has to respect the original frame, walling, and any insulation or damp-proofing already in place.
Before you design anything, spend time understanding how the conservatory performs today. If you already see condensation on the internal glazing edges, damp staining at the skirting, or misty cold spots after rain, you don’t want to “add on” without addressing those issues first. A lean-to can increase wind-driven rain exposure at the junction, so the detailing needs to be intentional.
Check the conservatory structure before planning the lean-to
Most lean-tos succeed or fail based on what they’re attached to. Conservatories vary hugely: some have aluminium or uPVC frames with glass infill, while others include brickwork or blockwork on the base. The way you fix the new structure depends on whether you can anchor into solid masonry, into a structural frame member, or into a roof wall channel that wasn’t designed for extra loads.
Common things to examine include:
- The base and sub-base: look for cracks, settlement, and damp marks along the conservatory feet or plinth.
- Existing drainage: check where water runs off and whether gully connections are working.
- The wall line: if the conservatory has a low brick wall, you may be able to fix into the masonry more confidently than into thin cladding.
- Frame condition: any corrosion, movement, or loose seals indicate you should pause and investigate first.
- Roof pitch compatibility: the lean-to must shed rain effectively and not create an awkward “water pocket” against the conservatory glazing edge.
If you suspect your conservatory sits over weak ground or uncertain drainage, foundation decisions become non-negotiable. It’s worth reading whether foundations are required for a conservatory, because similar principles apply when you add weight and wind loads to an adjoining structure.
Planning, approvals, and getting the rules right
Even modest roof additions can fall under building regulation requirements or, in some areas, planning permission. The key drivers are height, overall external appearance, proximity to boundaries, and whether you alter drainage discharge or create a new permanent roof covering.
For most homeowners, the practical move is to confirm your project falls into the likely “permitted development” category or to seek pre-application advice where there’s any doubt. You should also consider whether you’re changing access, escaping routes, or ventilation for rooms connected to the conservatory.
If you’re unsure what applies to your conservatory addition, it helps to review guidance on whether planning permission is needed for a conservatory. The same reasoning around scale and impact typically informs how authorities look at lean-tos, particularly if the new roof changes the look of the house.
Also remember: local water disposal matters. If you plan to connect downpipes from the lean-to, you need to ensure they discharge safely and legally, without channelling water into areas that already suffer damp.
Foundations for the lean-to base: don’t guess
A lean-to may look “light” compared with a full extension, but it still needs a properly engineered base. Wind pressure on a roof can be significant, and a roof that overhangs a door or sits close to the conservatory can create leverage loads on the posts or wall channel.
Foundation depth and type depend on soil conditions, frost risk, drainage strategy, and the span between supports. If you’re fixing new posts to concrete pads, you still need to ensure the pad sits on stable ground and isn’t set over soft fill or disturbed soil. If you plan a full base strip to support the new wall line or glazing, that’s a different build approach.
To understand why the base detail matters, it helps to think in terms of what you’re protecting against:
- Differential movement that can open flashing gaps over time.
- Rising damp if the base lacks appropriate damp control.
- Drainage failure causing water to sit near the junction and soak back into the conservatory wall.
- Settlement leading to uneven roof lines and poor run-off.
If you’re unsure how your conservatory base was originally built, treat the lean-to as an opportunity to correct the weak links. A base that’s good enough for glass and light framing can be different from the foundation needs for a roof with a solid covering and supporting posts.
Drainage and water management at the junction
Every rain-driven problem around conservatories ultimately becomes a water management problem. For a lean-to, the junction line where the roof meets the conservatory wall is the first place to look. If water can run behind flashing, or if the roof system doesn’t provide a clear route for runoff, damp will show up inside eventually.
Design your drainage strategy early and keep it consistent. This usually includes a gutter, suitable fall, and a downpipe discharge route away from the conservatory base. If you intend to run a new channel along the conservatory wall, make sure it integrates properly with existing rainwater goods and doesn’t force water into the frame.
Also consider underground routes. If your conservatory sits near service trenches or any drains, building over or too close to them can be a structural and maintenance risk. It’s not always forbidden, but it isn’t something to assume. Before you commit, review whether a conservatory can be built over a drain so you don’t uncover surprises once excavation starts.
Practical checks you can do yourself:
- Look for old soakaway locations, downpipe discharge points, and any signs of previous pooling.
- Test runoff during heavy rain if possible, or use a controlled hose test to observe where water tracks.
- Confirm you have a clear, straight discharge path for the lean-to gutter.
- Avoid directing water to the conservatory perimeter where damp is already visible.
Roof choice: materials, insulation, and weatherproofing
The roof is the defining element of your lean-to. You’ll need to balance weather resistance, weight, thermal performance, and how the roof junction interacts with the conservatory wall. Many lean-tos use polycarbonate panels, sheet roofing, or insulated panels, but the “best” option depends on how you’ll use the space.
If the lean-to is for storage and seasonal access, lighter coverings may be sufficient. If it connects to a habitable interior space or you want to reduce cold air transfer, an insulated roof system is often more comfortable and helps control condensation. Either way, the pitch needs to shed water reliably, and all fixings should be appropriate for the material and wind exposure.
Think about these details while you’re selecting the roof:
- Pitch: too shallow and water lingers, too steep and you increase wind uplift.
- Edge detailing: drips, verge boards, and end caps all matter.
- Underlay: for some roof types, a secondary waterproof layer improves protection at the micro level.
- Insulation and ventilation: trapped moisture can cause mouldy smells and premature seal failure.
- Colour and solar gain: darker roofs can overheat a space quickly in summer.
When the lean-to roof meets the conservatory, the junction detailing should be designed as a complete system. Don’t rely on “sealant everywhere”. Proper flashing, compatible profiles, and correct sequence of installation are what create long-term water resistance.
Designing the lean-to profile against the conservatory
A lean-to built onto a conservatory can be visually sensitive. Small choices—such as how the new support posts line up with existing glazing bars or how the roof edge sits relative to the conservatory’s gutter—can affect both appearance and performance.
If the conservatory has a brick base, you may be able to create a neat wall junction and fix a support rail into masonry. If it’s mostly glazed uPVC or aluminium, you’ll likely need a structural approach that transfers load safely into frame members designed to take it. In either scenario, you should aim to avoid drilling into seals or weakening roof wall channels that are vital to water tightness.
It also helps to plan access and use. If the lean-to includes a door, consider:
- Whether the door will open onto a level base with enough clearance for the threshold.
- How you’ll keep wind-driven rain from blowing under the door.
- Whether you need a small step or ramp to manage practical access.
Finally, consider what will sit under the lean-to. If you’ll store heavy items like bins or outdoor equipment, the floor build-up (even if it’s a simple concrete or paving area) must suit the load and not interfere with drainage.
Materials and components you’ll need
You don’t need to overcomplicate the shopping list, but you do need to specify components that are compatible with each other. Mixing systems from different manufacturers can create subtle alignment problems that become leak points at the roof junction.
Typical components include:
- Support structure: posts, wall plates, rails, and fixings.
- Roof covering: insulated panels, polycarbonate sheets, or other roof sheets.
- Flashing and trims: wall flashing, verge or ridge trims, drip edges, and closure trims.
- Guttering: matching profile, fixings, brackets, and downpipe fittings.
- Damp-proofing: damp control at fixings and where the new build meets the existing structure.
- Sealants and membranes: used in the correct locations and sequence.
Where possible, choose fixings that match your roof material’s specification. Over- or under-tightening screws on sheet roofing can damage coatings and allow water ingress around fixings. Similarly, using sealant alone to bridge movement is a common mistake, because sealant fatigue happens long before the rest of the system fails.
Common mistakes that cause leaks, draughts, and damp
Homeowners often think leaks only happen when water is “somewhere visible”. In practice, many problems begin at the concealed roof junction or behind trims. Once water gets a route, it can travel along internal seams and show up later as staining or condensation.
Here are the errors I most frequently see on lean-to conservatory junctions:
- Incorrect roof pitch leading to pooling and wind uplift lifting water across flashing.
- Inadequate flashing overlap so water runs behind the top layer.
- Using incompatible materials where profiles don’t sit flush or seal properly.
- Assuming the conservatory wall is structural without confirming it can take extra fixing loads.
- Skipping base checks and building onto uneven ground, which opens the junction over time.
- Over-reliance on sealant instead of proper metalwork trims and correct sequencing.
Another frequent issue is condensation caused by poor ventilation or missing insulation where the roof meets the conservatory. If moist air can get trapped in the junction area, you may see mouldy corners or a persistent damp smell even when the roof seems “dry”.
Practical build approach: what to get right on site
You can’t guarantee quality just by having a good plan, so site method matters. A lean-to build should be sequenced to keep junctions protected from weather during construction. It’s also important to keep the roof line straight so water flows where it should.
During installation, focus on:
- Setting out: measure alignment early, then re-check after base and support installation.
- Concrete and curing: allow adequate curing time before loading posts or fixing roof components.
- Dry fitting trims: ensure flashing overlaps are correct before final sealing.
- Water test readiness: before finishing with internal linings or trims, check runoff routes and junction water behaviour.
- Clean edges: remove debris and ensure surfaces are dry and compatible with sealants and tapes.
If you’re also working on the conservatory itself, it’s worth aligning your lean-to build with how the conservatory base is constructed. For background on getting the supporting structure right, you may find how to build a conservatory base useful, because the principles of durability and damp control carry across to adjoining builds.
And if your project timing is tight, avoid rushing the roof junction work. Most waterproof failures come from cutting corners at the junction rather than from the roof covering material alone.
Weatherproofing and finishing details that protect long term
A watertight lean-to is made from many small correct decisions. Flashing must sit correctly, trims must be secured without gaps, and the gutter system should be able to handle the heaviest rain without overflowing at joins.
Pay attention to finishing tasks that influence performance:
- Separation of materials: allow for movement at junction lines, especially where the conservatory and lean-to might expand differently.
- Drainage paths: ensure the gutter outlet and downpipe are clear and not obstructed by masonry or paving.
- Internal comfort: if you have an opening between conservatory and lean-to, choose draught control that won’t trap moisture.
- Edge protection: fit verge trims and closure details that keep wind-driven rain out.
Once complete, keep an eye on the first heavy rain period. If you notice water tracking into corners or condensation appearing faster than usual, address the issue early with a professional inspection. Waiting weeks can allow damage to develop behind sealant layers and decorative finishes.
Benefits and limitations of adding a lean-to to an existing conservatory
A lean-to can be a high-impact improvement when you want practical extra coverage without turning the whole build into a major rebuild. It can also improve day-to-day use by creating shelter where you actually stand—near doors, for bin storage, or as a protected access area.
Benefits you can realistically expect include:
- More sheltered external space without the cost of full extension planning complexity.
- Improved weather protection at vulnerable door and junction points.
- Flexibility of use, from storage to a utility-style lean-to zone.
- Potential insulation improvements if you choose insulated roof panels and control draughts.
Limitations are just as important. Lean-tos are not designed to become fully habitable rooms, and poor detailing can create moisture issues that are harder to fix once internal linings are installed. Also, the more you rely on attaching into a glazed conservatory frame, the more critical correct structural assessment becomes.
In practice, the “best” lean-to projects are the ones where the conservatory is already healthy, the base is stable, and the junction is designed as a proper water management system rather than a cosmetic join.
What to do next: from measurements to a safe, sensible quote
If you’re ready to move from ideas into a build-ready plan, start with evidence rather than assumptions. Walk around the conservatory in different weather conditions if you can, note where water collects, and check the frame and seals for signs of movement. Then take measurements that include roof height, wall line details, and the intended roof pitch to ensure runoff will work.
When speaking to builders or installers, be prepared to ask direct questions about how they will manage the junction. You’ll want clarity on:
- What they’re fixing the structure to and why that substrate is suitable.
- How the roof-to-wall flashing will be constructed and overlapped.
- How drainage discharge will be routed and how overflow will be prevented.
- What foundation approach is being used and whether ground conditions have been considered.
- How they handle waterproofing sequencing during construction so the junction isn’t left exposed.
If you’d like to plan scope before you contact installers, gather drawings, photos, and a short list of how you want to use the lean-to day to day. That makes it easier to get accurate, comparable quotes and avoids costly design changes mid-build.
What We Get Asked…
Can I build a lean-to directly onto a conservatory?
Sometimes, but it depends on what the conservatory is built from and whether it has suitable structure and solid fixing points. If your conservatory wall is mostly glazed or lightweight, you may need a separate support strategy rather than assuming the existing frame can take loads.
Do I need planning permission for a lean-to on a conservatory?
Often the answer depends on size, height, and location, plus any changes to the external appearance. Checking guidance on conservatory planning can help you understand the baseline, but local rules and site specifics still matter.
What roof material works best for a lean-to?
Insulated panels are popular for comfort and condensation control, while other roof systems can suit storage-only use. The best choice is the one that matches your required thermal performance, pitch, and the waterproof junction details.
Why does a lean-to junction leak even when the roof looks fine?
Because water often finds a route behind flashing or at fixings where overlaps aren’t sufficient. Sealant can fail over time if it’s used to cover poor flashing design or movement, so correct metalwork and sequencing are crucial.
How can I avoid damp problems after installation?
Start by managing drainage away from the conservatory perimeter and ensuring the base is stable and properly damp-controlled. After completion, monitor heavy rain performance and address any early signs rather than waiting for internal staining.
Our Final Thoughts
A lean-to against a conservatory is a practical, attractive way to add sheltered space, but it rewards careful preparation. Get the structural attachment, foundations, drainage, and roof junction right, and you’ll protect both comfort and the long-term performance of your conservatory.
If you want to plan confidently, review your conservatory’s current condition, check what approvals may apply, and ask contractors how they’ll construct the roof-to-wall flashing and runoff route. When you’re ready, use the measurements and concerns you’ve noted to request quotes that specifically cover foundations, drainage, and waterproof sequencing—then you can build with real peace of mind.