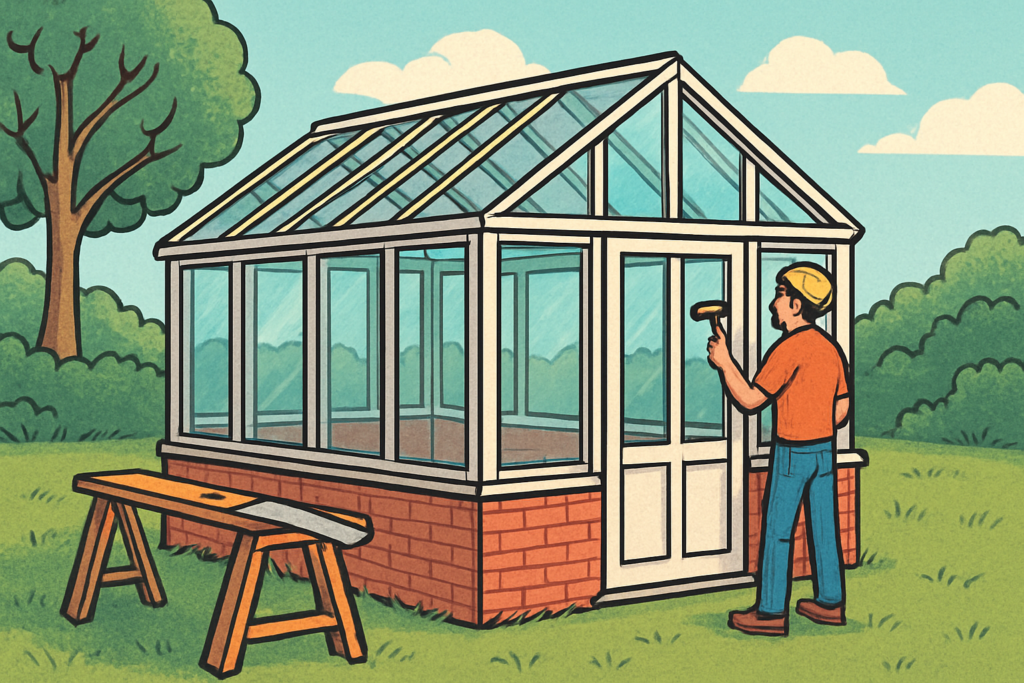
A conservatory can be one of the most rewarding home improvements you make: bright, flexible space for dining, hobbies, plants, or simply unwinding with natural light. Done well, it adds practical square metres without making your house feel crowded. Done poorly, it can become cold in winter, too hot in summer, or prone to leaks and draughts.
When I speak with homeowners, the recurring pattern is rarely the “big” construction issue—it’s the small decisions early on that ripple through the build. The right base, sensible drainage, correct glazing specification, and careful attention to sealing and fixing points matter more than most people expect. If you’re planning to construct a conservatory, this guide will help you understand what’s involved, what can go wrong, and how to keep control of quality from start to finish.
Start with the right design for your lifestyle and location
Before you order a frame or book materials, take a moment to map the conservatory to how you want to use it. A casual sun room, a year-round dining space, and a plant-heavy conservatory all need different insulation, ventilation, and comfort planning. Your roof choice, glazing type, and thermal performance targets should follow that decision.
Also consider the real-world constraints of your property. Orientation affects heat gain and glare, while prevailing wind and rain exposure can influence how robust your sealing and roof detailing must be. If you’re unsure what design elements will suit your home, compare options side-by-side and ask for the manufacturer’s performance data rather than relying on brochures.
It’s also worth thinking about whether a conservatory is the best fit compared with an orangery-style build. If you’re still deciding, see what’s the difference between a conservatory and an orangery? to help you match your expectations to the right style.
Confirm permissions and planning requirements early
UK rules can feel confusing, and getting it wrong can delay a project or force changes. Some conservatories may fall under permitted development, but size, position, and design details matter. You should confirm requirements before you spend time and money on final drawings.
A common mistake is treating “a conservatory” as one category. In reality, the planning assessment often depends on factors like your property’s footprint, height, distance from boundaries, and whether the extension affects the character of the home. Because of that, it’s wise to understand what’s likely to apply to your situation.
For a clearer starting point, read do you need planning permission for a conservatory? and note the questions you’ll want answered before signing anything.
If planning permission is required, factor in lead times for surveys, documents, and possible revisions. Planning delays are often what push people into rushing later stages of construction, which then increases the risk of errors.
Prepare the base properly: the foundation of comfort and durability
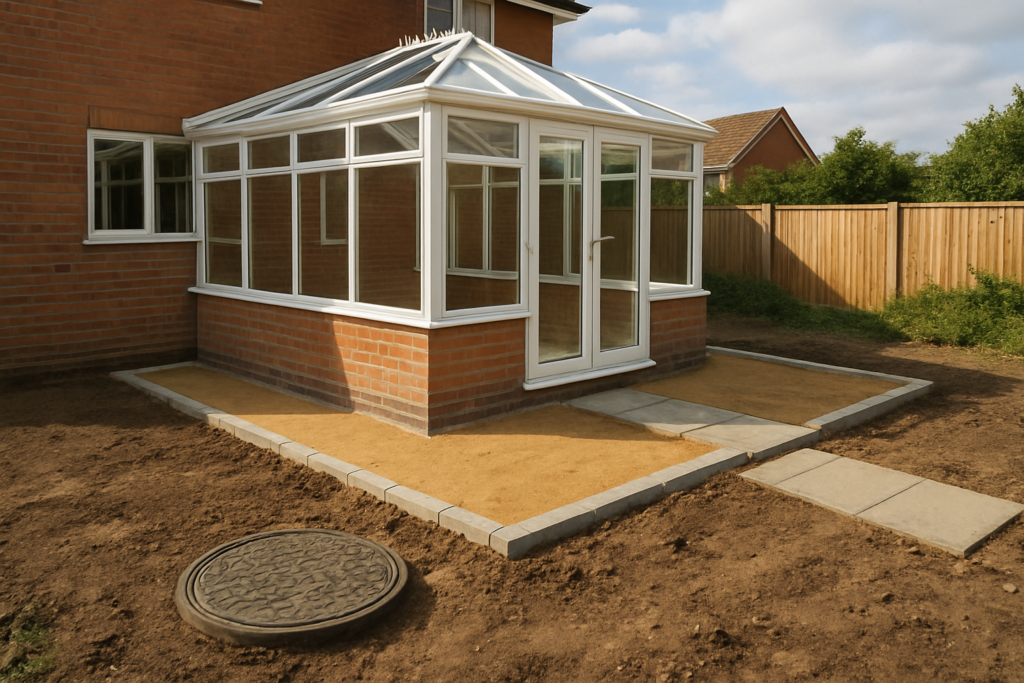
Most conservatory performance issues start at the base level. A weak or poorly prepared base can lead to uneven floors, misaligned frames, persistent draughts, and stress on joints. It can also shorten the life of seals and lead to water ingress if drainage is inadequate.
There are different base approaches depending on ground conditions, but the principle stays the same: you want a stable, level support that manages moisture and allows the structure to settle correctly before glazing and finishing are fitted.
If you want a deeper look at sub-structures, you’ll find it helpful to read how do I build a conservatory base? alongside this guide.
When assessing your site, pay attention to:
- Ground type and any history of subsidence or water pooling
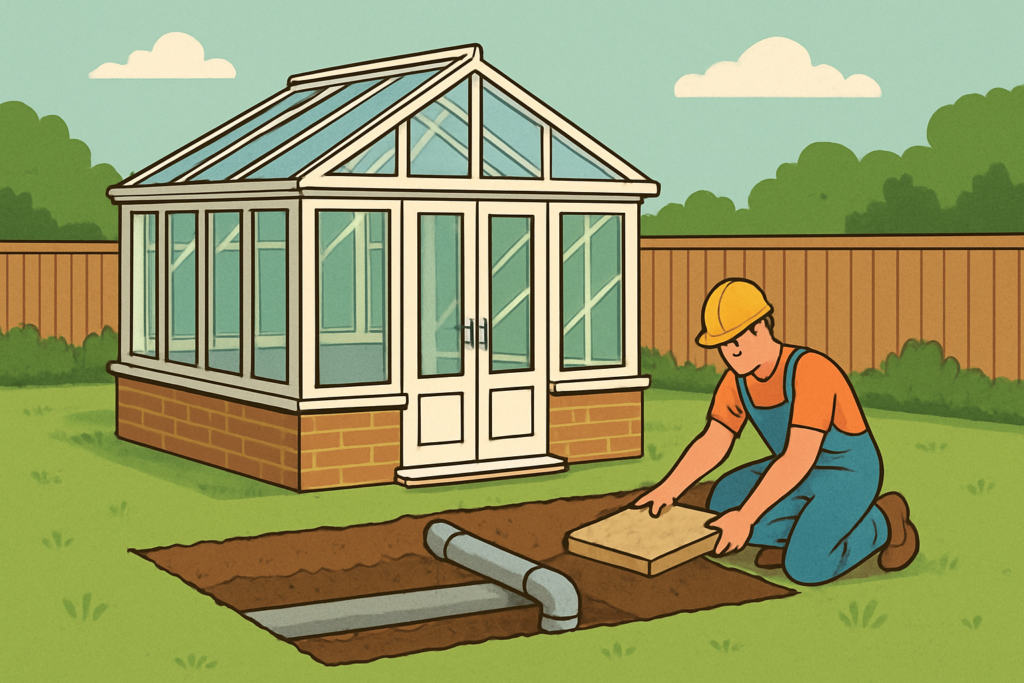
- Drainage routes and how rainwater will be managed away from footings
- Existing thresholds and damp-proof course alignment
- Floor build-up choices that support insulation and reduce cold bridging
One practical way to protect your build is to insist on good ground preparation rather than simply “pouring concrete and moving on”. Good preparation includes checking levels, ensuring adequate bearing capacity, and making sure the base is ready for the frame to sit squarely. That’s the quiet part of the job that makes everything else easier.
Plan drainage, damp control, and water management
Conservatories are often more exposed to rain than people expect because water can travel down roof planes, find its way through joints, and then track along frames and interior edges if detailing is not right. Even excellent glazing can’t fully compensate for poor drainage and damp control.
Start by thinking about where water will go during heavy rainfall. Gutters, downpipes, and roof outlets should be sized appropriately and routed so that water leaves the extension area quickly. Where the conservatory meets the house, flashings and trims should be designed to prevent water from migrating into the wall junction.
Another common mistake is assuming that “it looks sealed” equals “it is sealed”. External sealant joints need compatible materials, correct surface preparation, and the right weather conditions during installation. If joints are filled too thinly, applied over dust, or cured in damp conditions, the seal can fail early.
It’s also wise to consider where condensation will form. In UK weather, temperature differences between the inside of the conservatory and the outdoors can cause moisture to collect on colder surfaces. The fix isn’t just ventilation; it’s also insulation choices and airtightness planning, which we’ll cover further on.
Choose a frame system and make sure it’s fitted correctly
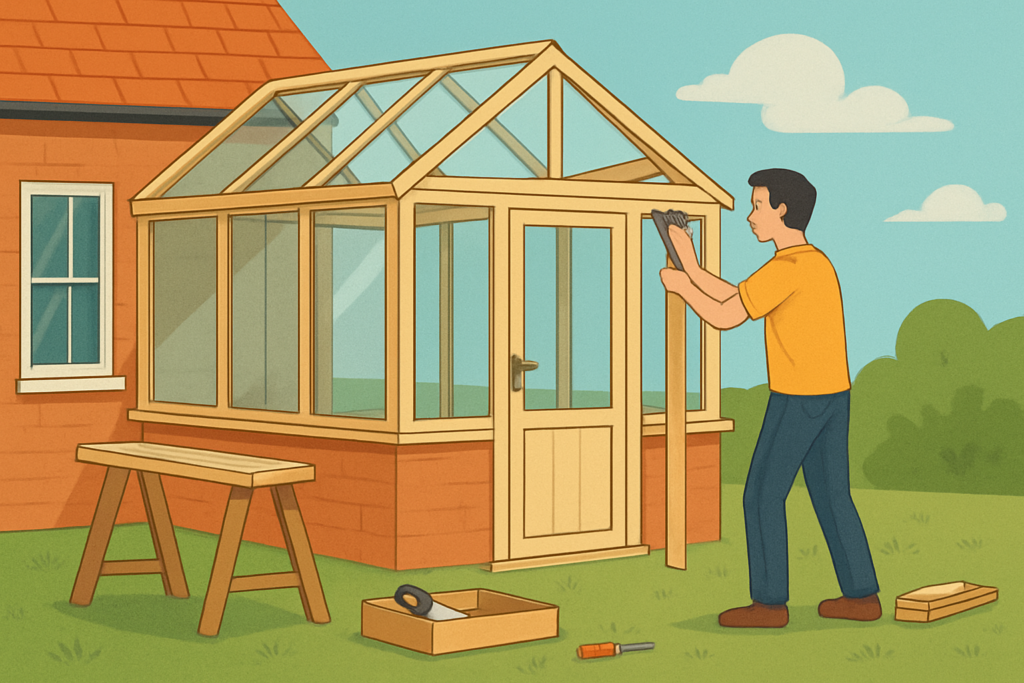
The conservatory frame is more than a skeleton. It sets the alignment for the roof structure, determines how glazing will be supported, and affects how the building handles wind loads. Choosing materials is important, but fitting quality is just as critical.
When evaluating frame options, ask about the system’s:
- Structural design and fixing method
- Thermal break approach (where relevant)
- Glazing bead and retention system
- Weather seals and how they interface at corners
During installation, alignment should be checked repeatedly. Frames need to be plumb and square so roof members sit without twisting. If you’re using a specialist installer, a good sign is that they demonstrate consistent checking rather than trusting measurements from one point only. Misalignment can lead to panel stress and poor contact between seals and glazing.
Also keep an eye on how the frame interfaces with existing masonry. If you see sloppy gaps, inconsistent flashing, or missing trim components at junctions, it’s often easier to correct early than to fix later after glazing and internal finishing are in place.
Roof construction: insulation, ventilation, and leak prevention
The roof is where comfort is won or lost. It influences heat gain, sound levels during rain, and the ability to maintain a stable internal temperature. Roof choice also affects the weight on the frame and the way water runs off.
If you’re exploring roof approaches, you may want to compare how different roof styles perform, but regardless of the type, two themes apply: create an effective thermal layer and make sure rainwater management is reliable. Poor detailing around glazing channels and perimeter trims is a frequent cause of leaks.
Ventilation matters too. Sealed conservatories can trap humid air and lead to condensation on cooler surfaces. Roof vents, trickle vents, or controlled airflow strategies can help, but they should be balanced with insulation so the room remains usable in winter.
It’s also worth planning maintenance access. Even high-quality roofs need cleaning and occasional checks of seals. If you’re thinking ahead, the practical routine matters; you might find how do you clean a conservatory roof? useful so you aren’t scrambling for safe access later.
To prevent leak risk, insist on attention to:
- Perimeter flashings and correct laps at overlaps
- Gasket condition and correct seating around glazing units
- Drainage channels and outlets being clear of debris
- Sealing at joints, corners, and any transitions to the house
Glazing and glazing seals: where appearance meets performance
Glazing is a visible feature, but it’s also a performance system. Glass type, coatings, frame spacing, and gasket quality all affect insulation, glare, and even how the conservatory feels at different times of day. Better glazing can reduce temperature swings, which in turn helps manage condensation.
When discussing glazing, don’t just focus on “double glazing”. Ask how the glazing contributes to the overall thermal strategy, including the roof and floor choices. If your goal is all-year use, it’s sensible to consider upgrades that improve insulation and reduce unwanted heat transfer.
Seal integrity is also vital. Gaskets and glazing beads work together to hold units securely and prevent water ingress. During installation, units should be seated evenly without undue pressure that can distort frames. If you notice uneven gaps around glazing edges, ask questions before you move on.
A practical tip: keep notes of glazing specifications and any documents supplied by the installer. If you later need to troubleshoot condensation or replacement after damage, you’ll have the information required to talk accurately with suppliers.
Floor construction and insulation: reduce cold spots and boost comfort
The floor often becomes the “weakest link” in conservatories. Even with excellent glazing, a poorly insulated floor can feel cold underfoot and make the room hard to heat. The build-up should support thermal comfort and reduce draughts.
In the UK, you’ll often find conservatory floors built using a combination of insulation boards, screed or a suitable floor finish, and damp-proof management where required. The right approach depends on your intended flooring type and base construction.
Common flooring mistakes include:
- Leaving gaps around perimeter edges that allow cold air infiltration
- Ignoring insulation thickness and resulting heat loss
- Forgetting about floor-to-damp-proof course alignment
- Using floor coverings that trap moisture or encourage mould growth
If you plan to use your conservatory frequently in winter, consider choosing insulation and floor finishes that cope well with temperature changes. It’s also helpful to think about condensation pathways—moisture needs somewhere to go safely rather than accumulating on cold surfaces.
Finishing details: joinery, trims, and airtightness
Once the core structure is up, finishing details are where the project starts to feel “finished” rather than “added”. But this phase also controls performance. Airtightness, draught reduction, and water resistance all depend on how edges, trims, and junctions are treated.
Pay special attention to:
- Skirting and internal trims that bridge between the conservatory and the outside-facing frame
- Any junctions with internal walls, doors, or existing openings in the house
- Sealants and trims at the roof perimeter and window frames
- Door thresholds, locks, and how they sit relative to the floor
Doors are another performance point. If a conservatory door doesn’t close smoothly or the threshold sits awkwardly, wind-driven rain can find pathways into gaps. That’s why you should check door alignment and compression points as soon as the door frame is installed.
Airtightness doesn’t mean a conservatory should be sealed like a submarine. It means unwanted gaps are controlled so heat stays where it should, while ventilation strategies can still maintain air quality and reduce condensation.
Common construction mistakes to avoid
Even careful homeowners get caught by issues that show up later. The goal is to catch these during construction so you don’t end up paying to undo work.
Watch out for these recurring problems:
- Rushing the base: skipping checks of level, bearing, and drainage routes.
- Under-specifying insulation: assuming “light and warm” means it will work year-round.
- Ignoring condensation: treating ventilation as optional instead of part of the design.
- Weak sealing and flashing: using incompatible materials or applying in poor conditions.
- Frame misalignment: which later causes glazing stress and sealing failures.
- Wrong roof run-off thinking: where water doesn’t discharge clearly or gets trapped near junctions.
One reassuring approach is to ask your installer to explain what they’re doing at each stage and why. A professional team should be able to talk you through the logic, not just the routine.
What to expect during the build and how to keep quality under control
Conservatory construction usually moves in phases: base and drainage readiness, frame erection, roof and glazing installation, and then internal finishing and sealing checks. Your job as a homeowner is to stay engaged while allowing the trades to do their work properly.
To keep control, you can:
- Confirm materials and specifications early so there are no last-minute substitutions.
- Ask for a clear timeline that includes weather-sensitive tasks.
- Inspect for obvious issues before glazing and trims make everything harder to access.
- Maintain site hygiene so drainage channels aren’t blocked by offcuts and dust.
If you’re planning your own schedule around the build, remember that some tasks can’t be rushed. Sealant curing, for example, can be affected by temperature and damp conditions. A good installer accounts for this rather than forcing progress.
It also helps to understand the foundation side of the job. If you want another angle on what makes bases perform over the long term, see how to build foundations for a conservatory to reinforce the “why” behind good groundwork.
Care and maintenance after construction
A conservatory will serve you better when you treat maintenance as routine rather than emergency repair. The aim is to keep water moving away from joints, maintain seal performance, and preserve the appearance of glass and frames.
Maintenance doesn’t need to be excessive, but it should be consistent. In particular, check:
- Roof outlets, gutters, and drainage channels for blockages
- Perimeter seals and trims after heavy storms
- Handles, hinges, and locks for smooth operation
- Internal condensation patterns around colder surfaces
Cleaning is part of maintenance, too. Use appropriate products that won’t damage coatings, and avoid harsh scraping that can scratch glass or wear down seals. If you need guidance on cleaning approaches, revisiting how do you clean a conservatory roof? can help you plan safe and effective routines.
Also remember: small issues can become big ones if ignored. If you notice persistent damp at a particular corner, investigate before it spreads into finishes or timber components.
What We Get Asked… (FAQ)
How long does it take to construct a conservatory?
Timelines vary by size, design complexity, and site access, but many builds follow a staged process that can span several weeks. Weather can affect weatherproofing tasks, and early readiness of the base can speed things up.
Do I need insulation if I only use the conservatory in warmer months?
You may get away with lighter insulation if it’s truly seasonal, but you’ll still want sensible thermal control to reduce condensation and damp. Even occasional use benefits from a well-sealed envelope and appropriate floor management.
What’s the biggest reason conservatories feel cold in winter?
The most common causes are inadequate insulation in the floor and roof, air gaps around perimeter junctions, and condensation-related moisture that makes the room feel clammy. Airtightness and ventilation planning also play a major role.
Can I construct a conservatory without professional help?
Some homeowners consider partial DIY, but conservatory construction involves structural alignment, glazing handling, weatherproofing, and safe working at height. If you do DIY elements, be realistic about risks and always align with manufacturer requirements.
How do I prevent leaks around roof edges?
Leaks usually trace back to flashing laps, incorrect sealant application, or blocked discharge routes. Ensuring correct weatherproof detailing at junctions and checking drainage outlet performance reduces risk significantly.
Our Final Thoughts
Constructing a conservatory is a genuinely practical way to create more usable space, but it only pays off when the build is planned and executed with performance in mind. Get the base and drainage right, choose glazing and roof solutions that match your comfort goals, and treat sealing and finishing details as part of the core construction—not an afterthought.
If you’re ready to move from ideas to decisions, start by confirming planning requirements and mapping your design to year-round comfort. Then build your confidence by reviewing how bases work and how to manage water and maintenance properly, so you can ask better questions of installers and avoid expensive rework. If you’d like to compare options and costs for your area, explore relevant installation regions like Birmingham conservatory cost estimates to help you plan your next step with clarity.